Netgear Nighthawk RAX50 Setup Guide
The Nighthawk RAX50 is an excellent router for heavy streaming environments. Its setup process is highly automated, but requires a few specific steps to get everything running securely.
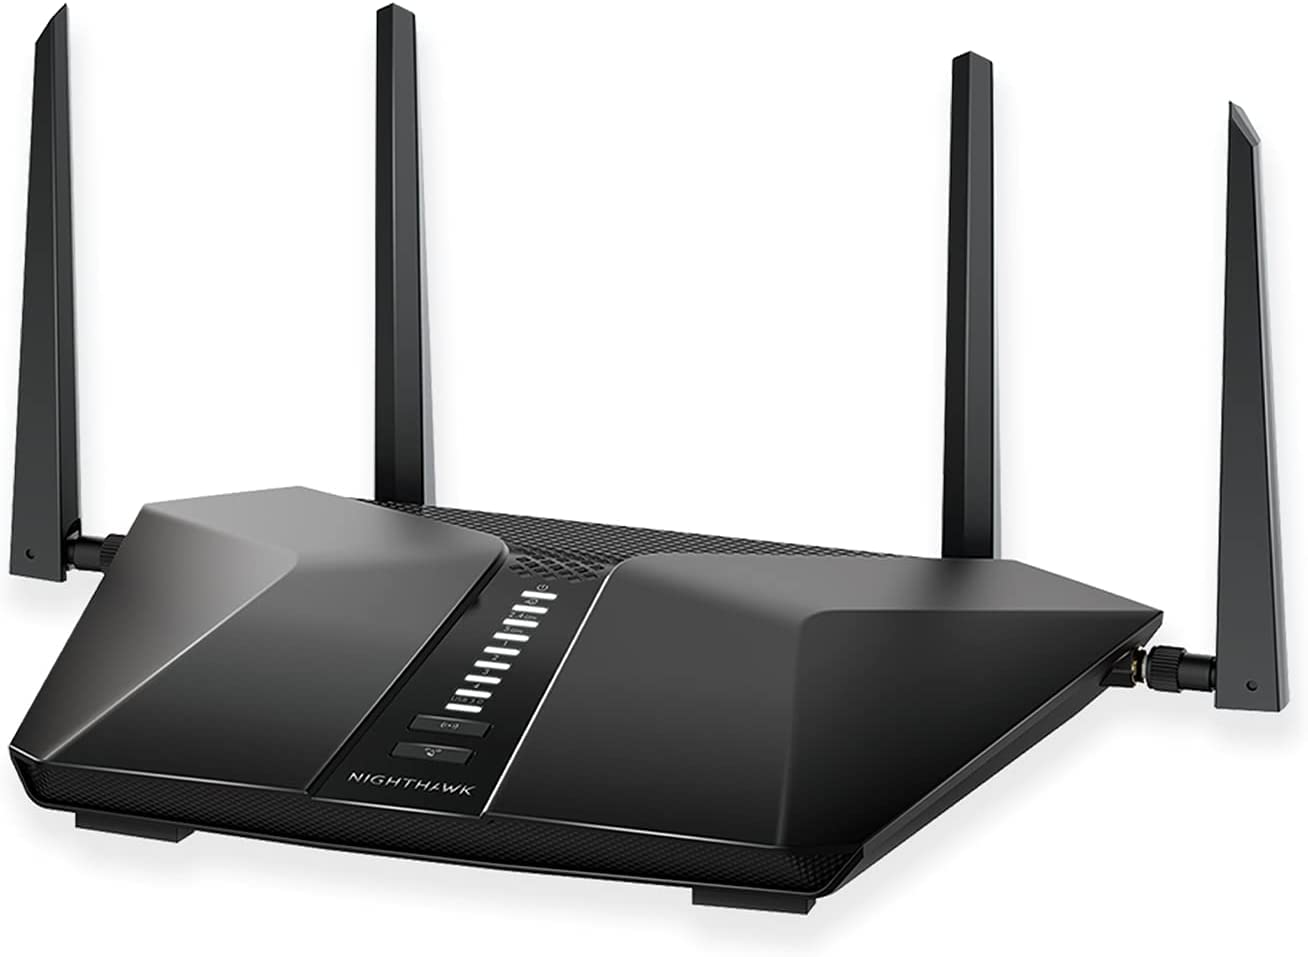
Step 1: Hardware Connections
The RAX50 has four high-powered external antennas. Ensure these are screwed on tightly before powering the device on, as booting a router without its antennas can occasionally cause thermal issues.
- Power off your broadband modem.
- Connect the yellow Internet (WAN) port on the back of the Nighthawk to your modem using an Ethernet cable.
- Power on the modem, wait one minute, and then power on the Nighthawk.
Step 2: The Nighthawk App
Netgear relies heavily on their smartphone app to configure their hardware.
- Download the "Nighthawk" app to your mobile device.
- Look at the sticker on the bottom of the router. It will display the default Wi-Fi network name (SSID) and a temporary password. Connect your phone to this network.
- Open the Nighthawk app and follow the prompts. The router will automatically detect your internet connection type.
Step 3: Security & Netgear Armor
During setup, you will be prompted to create your own network name and admin password. You will also be asked if you want to activate Netgear Armor.
Netgear Armor is a built-in security suite that protects your network from malware. It is highly recommended that you activate it, but be aware that it operates as a free trial. After 30 days, you will need to decide if you want to pay for a subscription to keep it active.
Check for Firmware Updates
Once you are on the main dashboard of the Nighthawk app, navigate to Settings > Router Settings > Check for Updates. Keeping your router firmware up-to-date is the easiest way to prevent unexpected drops in speed.